White chocolate and Strawberry Cheesecake (no bake)

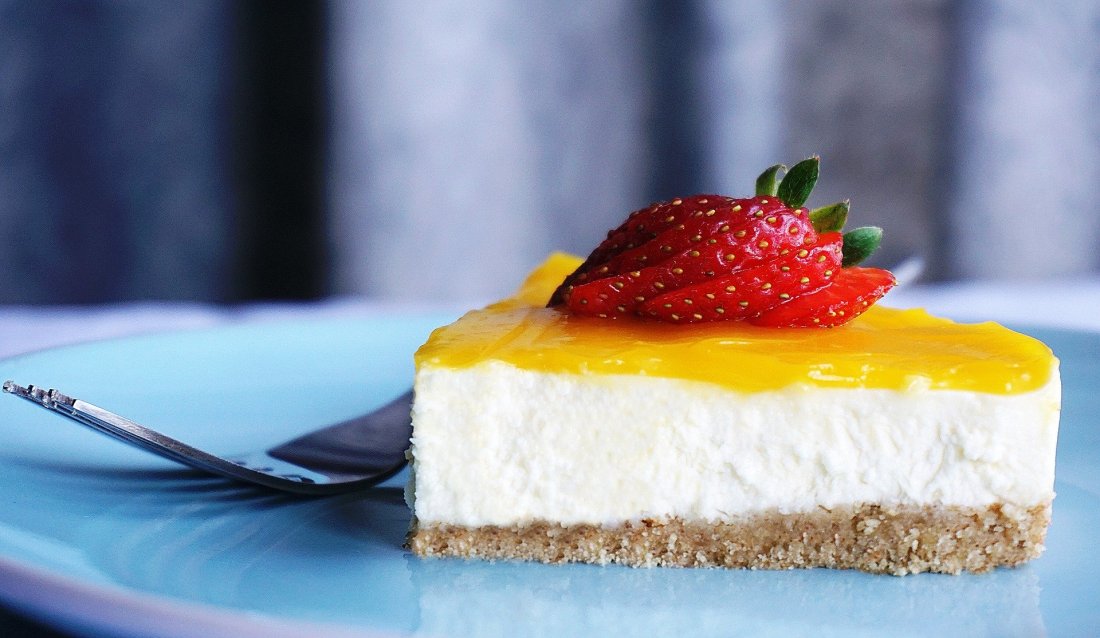
We all love cheesecake!

This was a request from the Facebook page, you can use dark chocolate but i find the flavour of white chocolate works a bit better with the strawberry and slight sourness from the cheese.

Recipe!

Ingredients (serves 8)

For the base

  • 1 pack of biscuits (i like to use hobnobs)
  • 100-200g butter (depending how buttery you like the biscuit base, using more than 150g can make the base go soggy though)

For the filling

  • 200-400g strawberries, sliced (thickish, about 4 slices per strawberry)
  • 200g White chocolate
  • About 400g soft cream cheese
  • 50-100g icing sugar
  • 200ml double cream
  • Fresh mint or basil leaves (optional, to decorate)

Prep and cooking (30 minutes)

  1. First smash the biscuits up, easiest if you’ve got a food processor just blend them with a blade attachment, if not chuck them in a sealy bag and wrap a towel around it and smash it with a rolling pin.
  2. Put the biscuit dust into a mixing bowl and melt the butter in a saucepan over a medium heat.
  3. Mix the butter with the biscuit until it holds together.
  4. Line a cake tin with baking paper and layer the biscuit over the bottom, push down with a wooden spoon or your hands to compact it into the cheesecake base, cover with cling film and put in the fridge for about 20 minutes.
  5. Whilst it’s cooling down make the filling, melt the chocolate over a bain marie on the stovetop (saucepan with small amount of water in and a bowl over the top, using the steam to heat) or in a microwave, if using a microwave be careful not to burn the chocolate.
  6. In a seperate mixing bowl whisk the cream cheese with the sugar, add 1-2 tbsp of boiling water and whisk until its nice and smooth.
  7. Now pour in the melted chocolate with 2-3 tbsp of the cream and mix well.
  8. Put a layer of strawberry slices over the biscuit base and then cover with the cream cheese mixture and spread out evenly.
  9. Whip the rest of the cream and layer this on top of the chocolate/cheese filling.
  10. Arrange the rest of the strawberries on top, decorate with mint or basil leaves if using.
  11. Eat the damn thing.

More recipes soon!

Mascarpone lemon cheesecake

This cheesecake uses mascarpone instead of regular cream cheese, which gives it a much creamier texture.

I like to do it with lemon because regular cream cheese has a slight sharpness/tang to it whereas marscarpone is a lot more mild.

Here’s the recipe!

Ingredients (makes 1 cheesecake)

For the base

  • 1 pack of digestive biscuits
  • 100-200g butter
  • 1-2tbsp brown sugar (preferably light)

For the filling

  • 200-300g marscarpone
  • 200-300g double cream
  • 50g caster sugar
  • 100-200g icing sugar
  • 2-3 lemons

Equipment

  • Food processor, or ziplock bag and a rolling pin
  • Zester or fine grater
  • Knife, or lemon juicer
  • Mixing bowl
  • Whisk, an electric one helps
  • Microwave or saucepan
  • Tart/cake dish
  • Wooden spoon
  • Spatula
  • Pallet knife

Prep and cooking (45+minutes)

  1. First make the base by smashing the biscuits, this is where a food processor helps, if you don’t have one just put the biscuits in a ziplock bag, wrap it in a tea towel and smash it with a rolling pin until it’s fine with little or no lumps.
  2. Melt the butter in the microwave/saucepan and mix with the biscuit until it holds its shape, using more butter will help it hold better but too much will make the base go soggy so don’t over do it.
  3. Grease the tart dish with butter and place the crumb in, fill the base and push down with a wooden spoon/hands.
  4. Put in the fridge for 10-20 minutes to chill.
  5. Whilst it’s chilling make the filling by beating the mascarpone with the icing sugar until smooth. Zest the lemons and mix well into the cheese. Juice the lemons and add a little at a time, mixing well in between adding more juice, until you have the desired flavour.
  6. Whisk the cream with the caster sugar to soft peaks and fold it into the cheese with a spatula.
  7. Spoon the mixture on to the biscuit base and smooth over with a pallet knife.
  8. Chill for at least 30 minutes, preferably a few hours.
  9. Either cut into portions, or just eat it like a huge biscuit.

More recipes soon!

Vanilla cheesecake recipe

The cake that’s not a sponge, but more of a big cheesy biscuit.

I’ve got a ton of cheesecake recipes which I will eventually get round to writing up, but for now I thought it best to start with a classic,

Vanilla cheesecake!

To the recipe,

Ingredients (makes 1 cheesecake)

For the base

  • 250-300g digestive biscuits
  • 100-200g butter

For the filling

  • 600g cream cheese
  • 100g icing sugar
  • 300ml double cream
  • Either; vanilla flavouring, essence, extract or a vanilla pod, a pod tastes best

Equipment

  • Cake tin (23-26cm)
  • Either a food processor, or a ziplock bag, tea towel and rolling pin.
  • Mixing bowl
  • Wooden spoon
  • Palette knife
  • Whisk or electric whisk
  • Microwave or saucepan
  • Cling film

Prep (25-30 minutes)

  1. Start by greasing the cake tin with butter.
  2. Either blitz the biscuits in a food processor, or put them in a ziplock bag, wrap it with a tea towel and smash it with a rolling pin until you have fine crumbs, if doing the second method be careful as it can get quite messy.
  3. Melt the butter in a saucepan/microwave and add it to the biscuit. Mix with a wooden spoon, the more butter you use the better the base will set but don’t overdo it or it will go soggy. On the other hand don’t use too little or it won’t bind together.
  4. Pour the biscuit mix into the cake tin and pat down into a base with a wooden spoon or your hands.
  5. Cover with cling film and put on the fridge for 15-20 minutes to set.
  6. Now onto the filling, put the cream cheese in a bowl with the icing sugar and whisk together until smooth.
  7. Add the flavour, (scrape out the inside if using a pod) add to the bowl and mix well.
  8. There’s 2 ways to add the cream, you can either add it straight to the mix and whisk until fully mixed, or you can whip it the fold it into the mix with a spatula. The second give a lighter cheesecake.
  9. Take the base out of the fridge, remove the clingfilm and spoon in the filling, level and smooth with a pallet knife.
  10. Recover with cling film and return to the fridge for 30+ minutes.
  11. Try not to eat it all at once.

Just Brie mine

Not really the right kind of cheese but it might appeal to some.

For all you cheesecake lovers, I’ll be adding more cheesecake recipes over time so keep your peepers peeled.

I’ll also be adding s recipe soon for London cheesecake, which isn’t a cheesecake (or cake) at all, it’s a pastry.

Until next time!